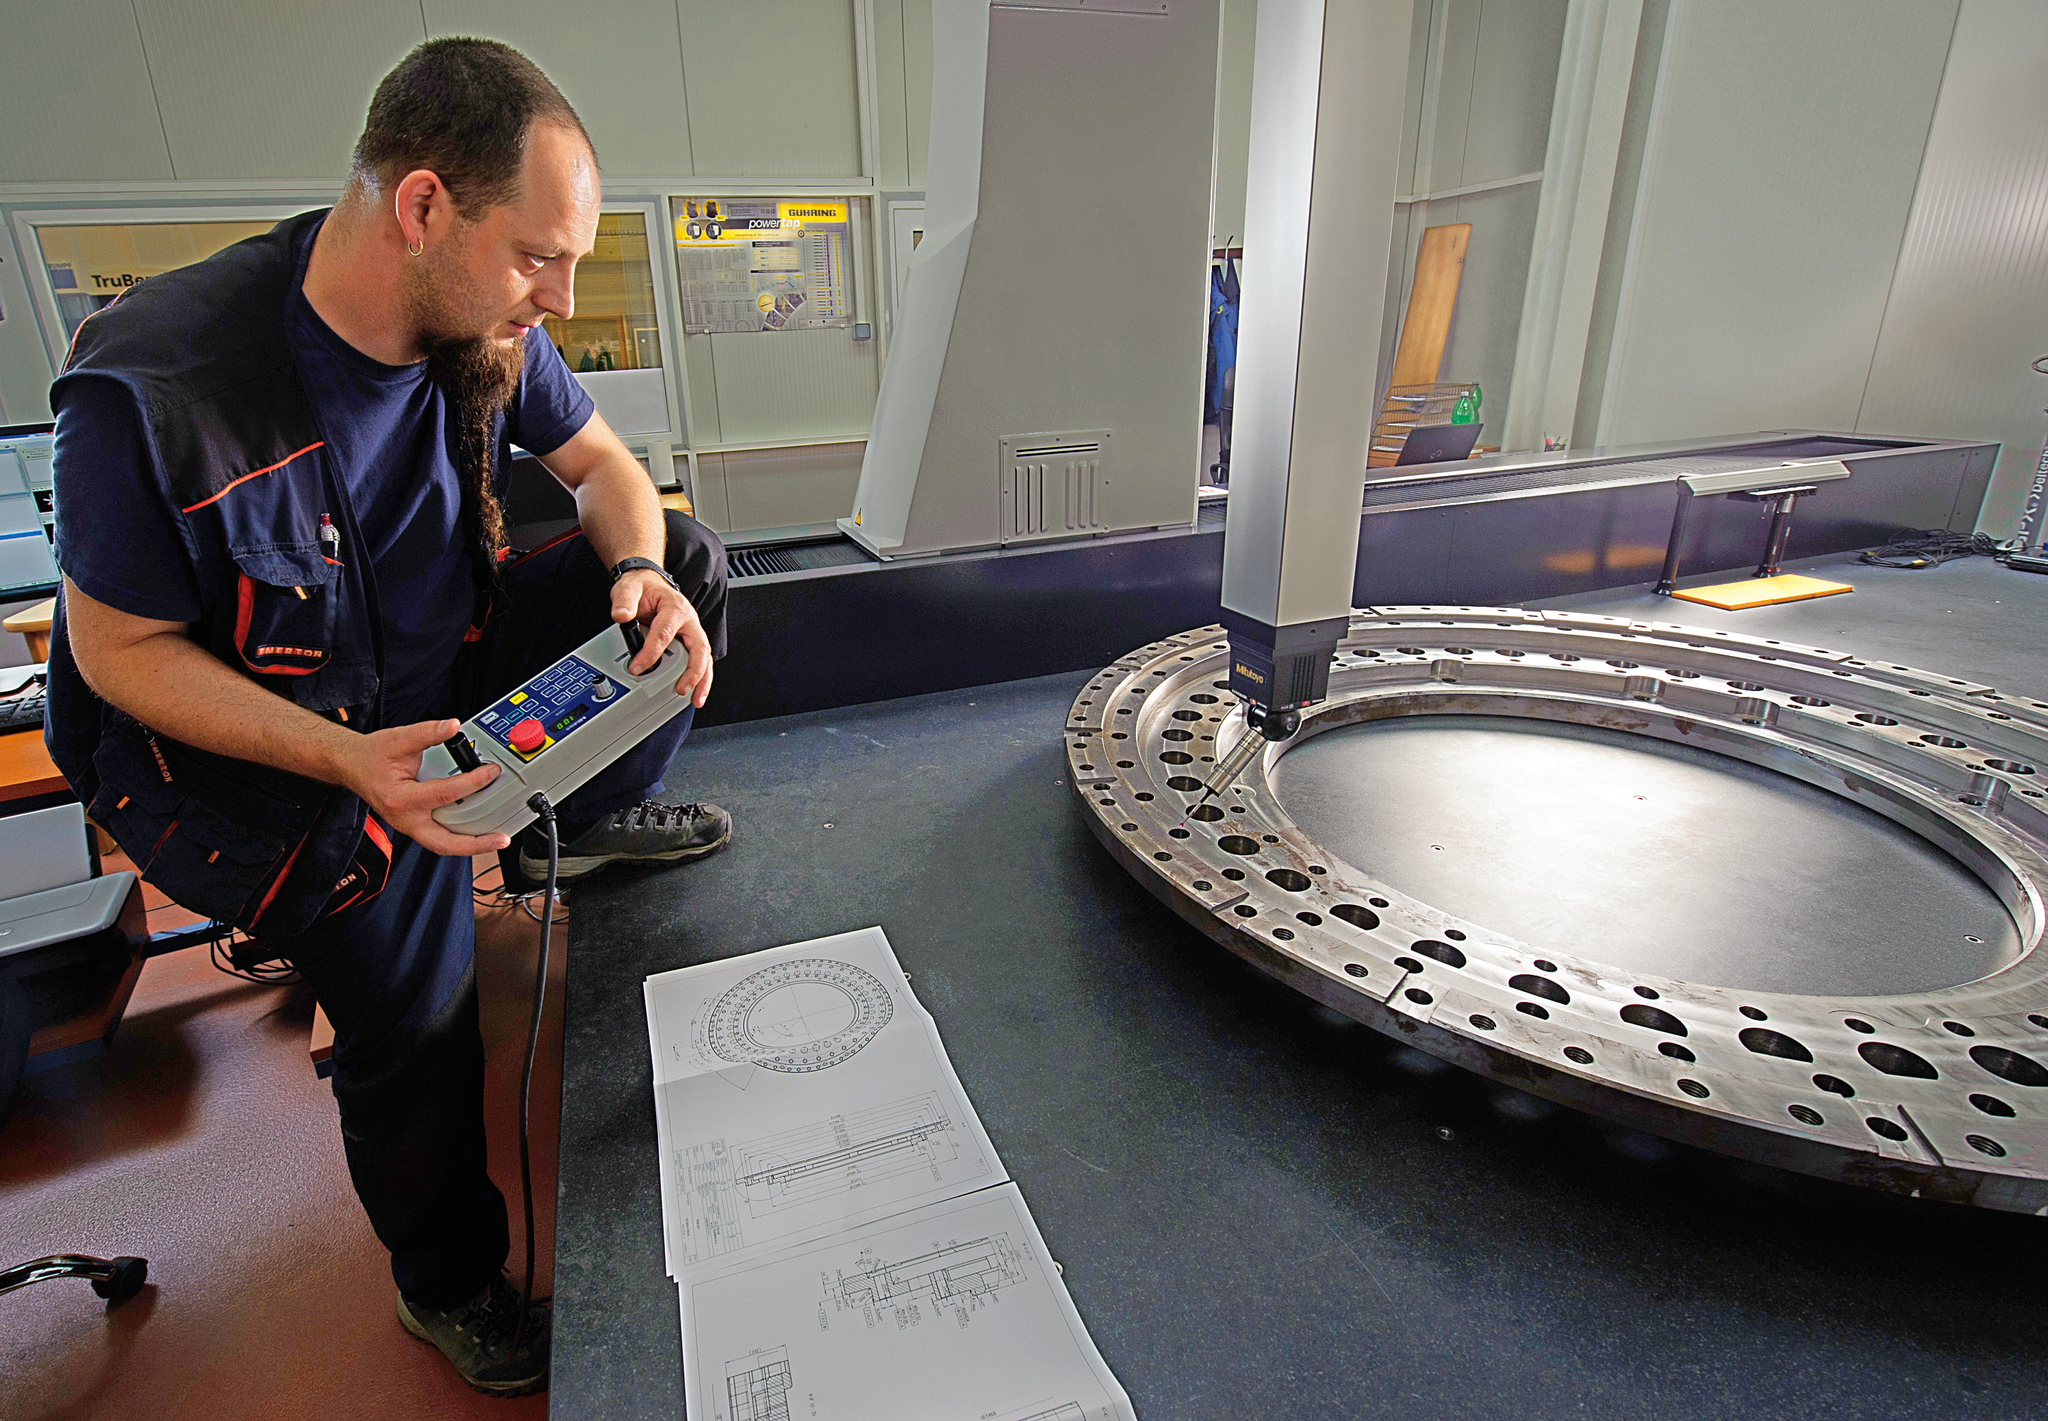
Mitutoyo CRYSTA-Apex C163012 checking system
Depending on customer demand for necessary precision and complexity, we use the high-quality coordinate CNC measuring device called Mitutoyo CRYSTA-Apex C163012 to check the dimensions.
The facility is situated in a separate air-conditioned room to provide the required temperature and humidity and it eliminates dust and dirt. Shocks from the environment, which could negatively affect the measurement accuracy, are removed by means of facility’s beam suspension.
Parameters
|
Measuring range - X axis |
1605 mm |
|
Measuring range - Y axis |
3005 mm |
|
Measuring range - Z axis |
1205 mm |
|
Resolution |
0,0001 mm |
|
Guide method |
Air bearings on each axis |
|
Max. drive speed |
693 mm/s |
|
Max. measuring speed |
5 mm/s |
|
Max. drive acceleration |
1,732 mm/s2 |
|
Max. workpiece height |
1200 mm |
|
Max. workpiece load |
3000 kg |


